
It's been a bit since I posted some art, things have been quite hectic here at home. My family blog is suffering too... I'm sorry! Here's the start of my fresh new journal! I'm in a huge creative whirl right now, I even have paint in my hair to prove it! Enjoy!
New pages to fill!

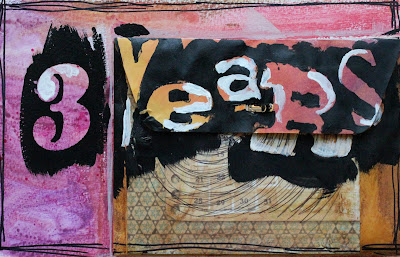
"Free Your Mind"

 Untitled... work in progress, although I like it as is too.
 Untitled.

 "Inspired"

 "Expand Your Horizons"

 Untitled... work in progress. Sometimes it's fun to see the beginning of a piece and compare it later to it's finished state. This reminds me... I want to make one of those time lapse videos while I work. Should be interesting. note to self : must Google the how to process on time lapse...
 Untitled... still feel like it's missing something (other than the journaling that I have to script in there). I can create just fine, but I have writer's block at the moment.

 Well, that's all for now... Until next time!
 Once you have it lined up right, hold it in place with one hand while tracing the edges with your pencil. The insert might be a little bumpy along the folded part. No worries though, we'll be trimming this!

 Place your cut out image into the back plate of your case. Does it fit? Trim if necessary to get the right fit. I had to trim those bumps from the folded insert and a little along the bottom to get it just right.


 Take your case off the image and place your cutting board underneath. Take your exacto knife and carefully cut out the hole.

 Click the top part of the case on and there you have it!
 Enjoy the new look!


